One of my most popular post is about how to create papertoys (How to create your own papercraft).
It seems that a lot of people are interested in papertoys and how to make themselves.
But there is not a lot of information about it, so I started this series.
Do you want to know more about my reasons read this.
Because I have not a plan about writing about this, I will call this Lesson 1 – The Cube
The basics…
The first shape you will run into when you start with papertoys is the cube. It’s easy to recognize: all sides (width, height, depth) are the same.
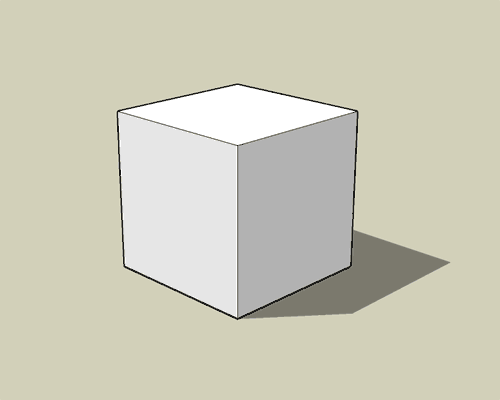
When you build one, it will look something like the one you see above. Not really impressive, yet.
Flat version of a cube
Okay, you probably know how a cube looks, but how does it look flat on a piece of paper:
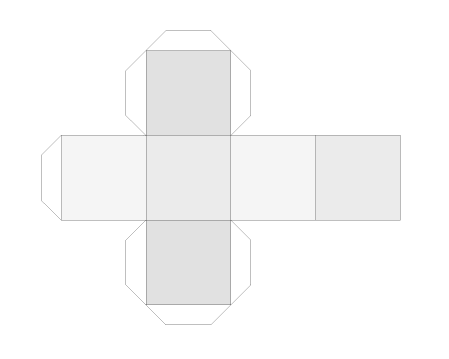
How do I make it into a Urban Papertoy?
For the cube I see 2 methods:
1. Design a pattern/print for it.
2. Add stuff to the cube.
Method 1: Find a cube-pattern
The thing that I do first is, print it out and build the model. It’s strange but when you can hold it, flip it, etc, you will get more ideas then when you just look for it in your head. It will get your creative juices going. Look for clues in the real world…
What is a cube in the real world? A dice
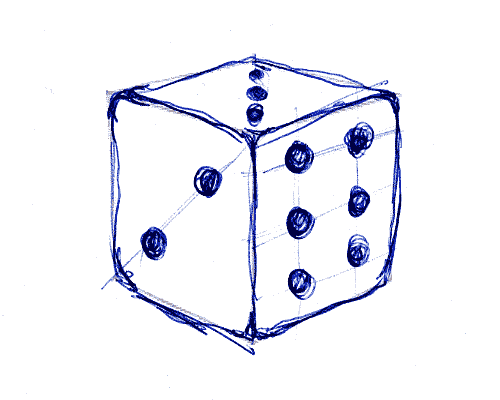
alarm-clock
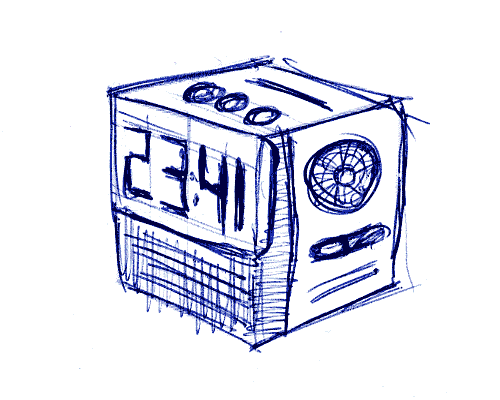
table
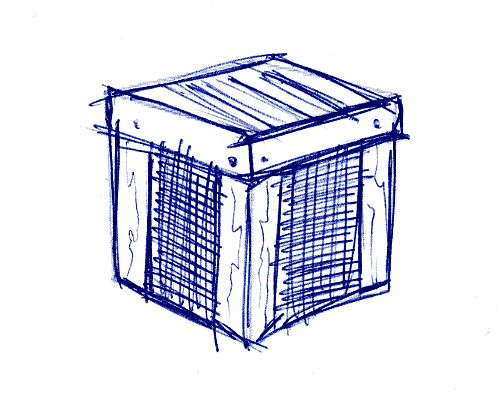
tv
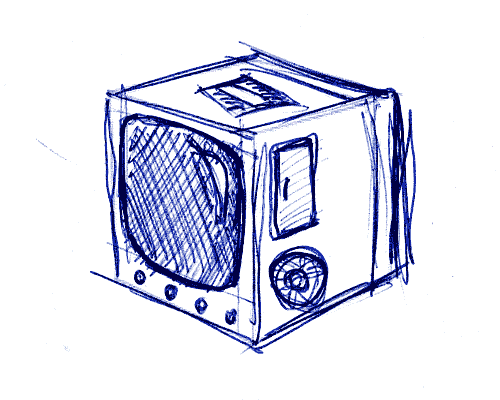
box
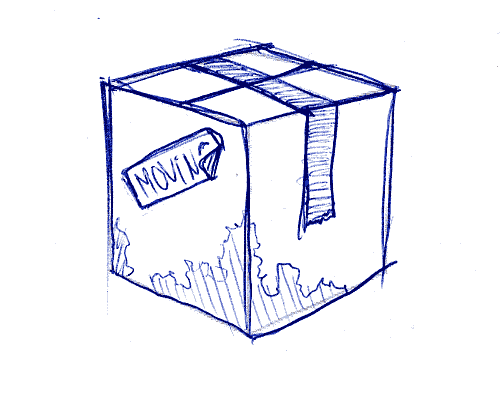
, …. hmmmm not a lot a stuff is really a cube….
Perhaps a little car or bus when you square them out…
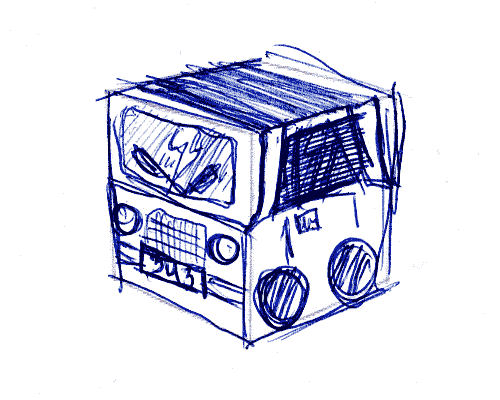
A couple of rectangle shaped object can make a cube: stack of books, cds, video, …. you get the idea.
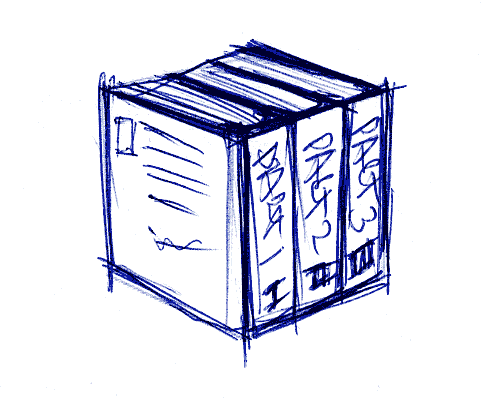
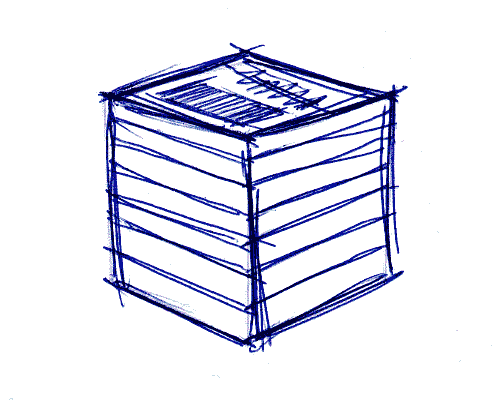
But that would only create “dead” object (there are not a lot of living objects that are square), so we need to expend our horizon to other objects.
Method 2: Adding stuff to the cube
Now we start adding stuff. This method gives you more room to create cool stuff.
Lets try a couple:
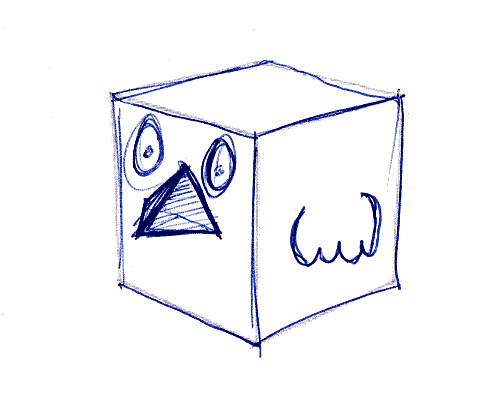
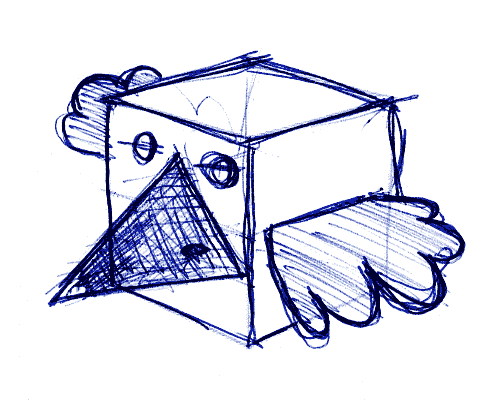
Add a beak, make the cube yellow and you have a little bird.
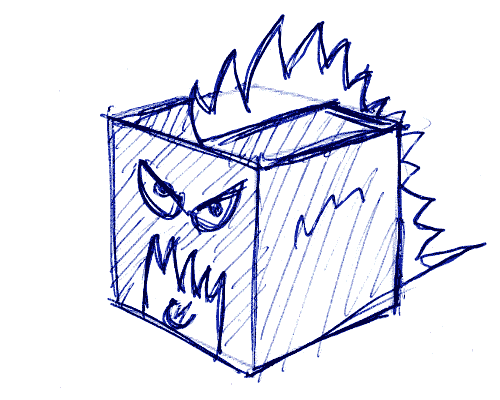
Add a back fin, make the cube green and you have a prehistoric beast.
Add two wings and you have a plane…. or another bird.
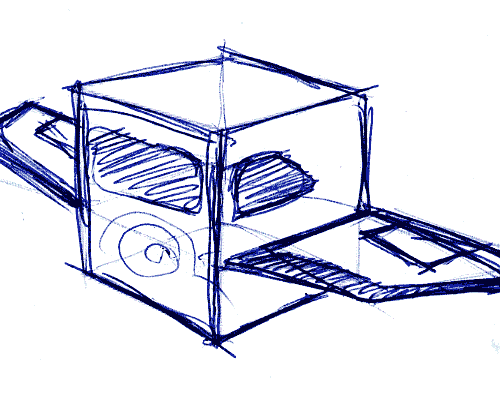
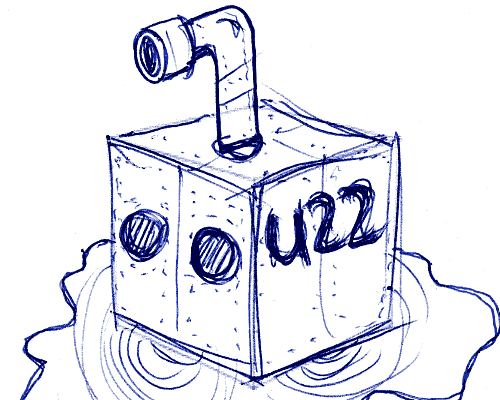
Add an periscope, some water and you have a submarine.
Add ears and get a head.
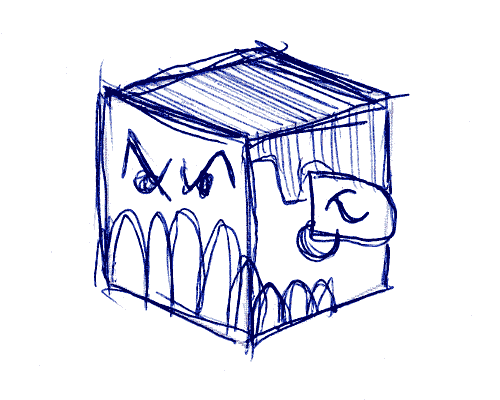
Sometimes it helps to rotate the object a little bit. In this case with our cube it will not help you a lot but lets try that.
Add an tail and get a whale.
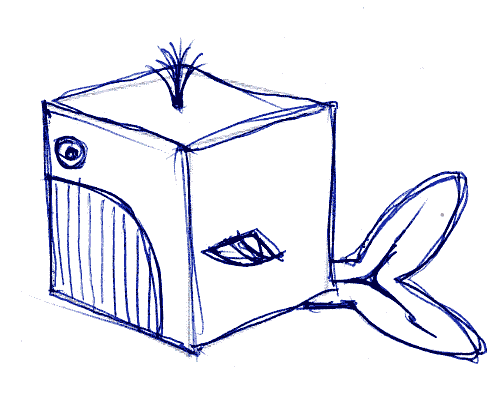
Add four feet and get a turtle.
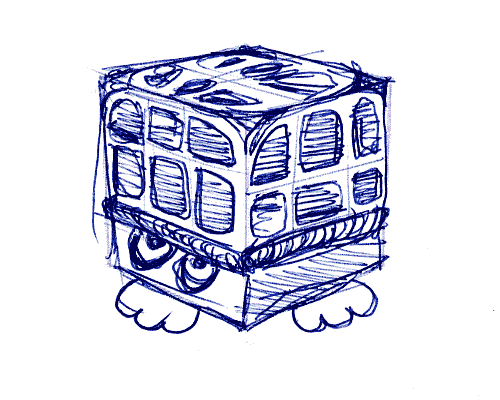
You can even add an extra cube, and make a totem pole.
Method 1: How to create/draw a cube-pattern
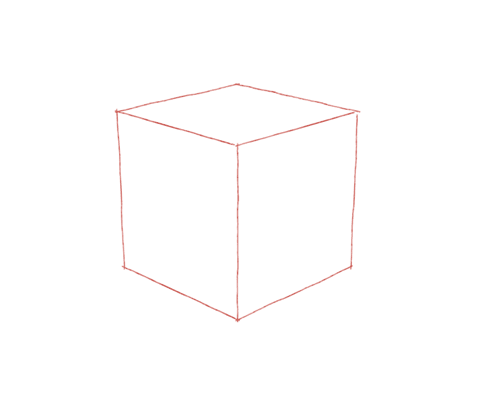
You can sketch everything with a cube 3d print out like I did. Then you have a global idea how you pattern should look. Then you’ll take your favorite design program (in my case Illustrator) and open the flat template and start designing.
The only problem that you will need to know which part goes where AND and how the pattern connects to the other parts of the template.
You can also build the cube, get your drawing tools out (markers, paint, pen, pencils, whatever) and color/draw the pattern that you want. When you are finished, get a scissor and cut the cube open. Scan it and redraw it, or just draw some glue tabs on it and you are done.
How to create/draw the additional stuff
The same as above: you can sketch everything. Or you start with building a cube and adding stuff as you go. This is a method I use a lot: it’s faster then thinking every thing out on a computer and you see at once if the measurements are correct. If you are satisfied with would you just added to the cube you can measure it with a ruler and rebuild it in your favorite design program. Or cut it of, scan it and then redraw it.
Download links
To get you started I have template with a blank cube for you to download. So you can try some of the technique described here in this tutorial. The zip also contains some of the stuff you can add to a cube to make it more fun.
Happy cut’n & fold’n
[download of a cube/with extra’s like hands]
Your input is needed
I’m trying to write a book about papertoys and how you can design it. It’s not for me, I already know what I’m doing, it’s for you.
So if you have some questions, use the comments to say it to me.
No questions for me? Just let me know what you think a cube also can be?
Or perhaps examples that you have seen based on a cube.
Use the comments!
14 replies on “Papertoy design – The basics”
I dig it. The last few days I have been thinking more and more about how to design my own paper toys and sculptures. A book on the basics is a great idea. I’m looking forward to your further lessons.
You can send me suggestion about what you would like to know and perhaps it will be a chapter 🙂
Very interesting: your drawings are very helpful!
Thanks for taking the time to do something like this! Very useful to many I am sure! ^^
Thx, I hope I find time to make it into something big… Something like a book!
I found this little site which has exacly these sort of Papertoys:
http://paperboxworld.weebly.com/
Visit the site for inspiration, and to get you starten here some examples:
Hi, I came across that topic I’m currently very interested in. Is the download inactive in the meantime? I would very much appreciate the template so the kids could design themselves. Thank you a lot! Bettina
It seems that I have never made this download available… And I can’t find it anywhere.
Need to rebuild it.
These are really Amazing!!
I must do one of these for my GF!
wow! thanks for this fantastic information! got to have a go at this!
[…] papercraft characters that you can then put together… well, together! Matthijs Kamstra has a basic cube tutorial for making your own papercraft on his site – using his template to print the basic cube shape means kiddos of all ages can […]
cant get the download! help 🙁
thx. xD gave me some ideas for my homework 🙂
[…] trucco… create voi stessi il vostro gioco di carta al cubo… trovere in rete un ottimo tutorial (eng). Papertoy – […]